Difficulty: Beginner
This tutorial covers the creation of a game over trigger and win game trigger. These can be placed anywhere and scaled to any size. There’s also no limit as to how many triggers you want of each type (within reason).
Since we already have the main menu and pause menu, we can easily implement those in this system. The pause menu tutorial includes a respawn system, which we will be utilizing in this tutorial. The idea is this: if the player collides with the trigger, we pull up a simple menu and throw them back to the start.
Note: This tutorial does not cover creating a basic menu, only utilizing it for a lose/win trigger. You can learn how to make a menu here
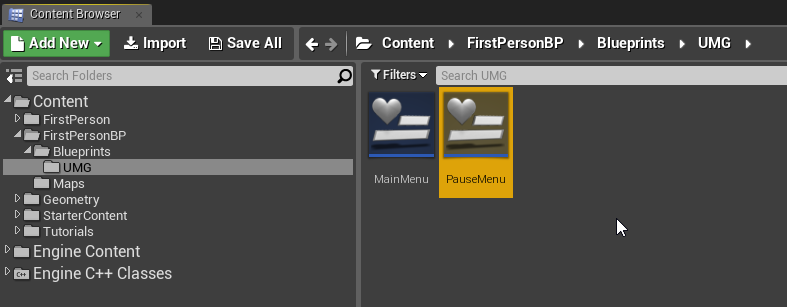
1. Start by duplicating the PauseMenu Widget Blueprint in /FirstPersonBP/Blueprints/UMG/ we made previously, by selecting it and pressing Ctrl+W. We’ll call it GameWon.
This is a good starting point since it includes most of the things we need for the menu portion.
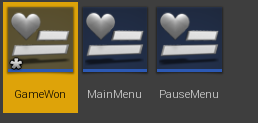
After, open the widget blueprint file.
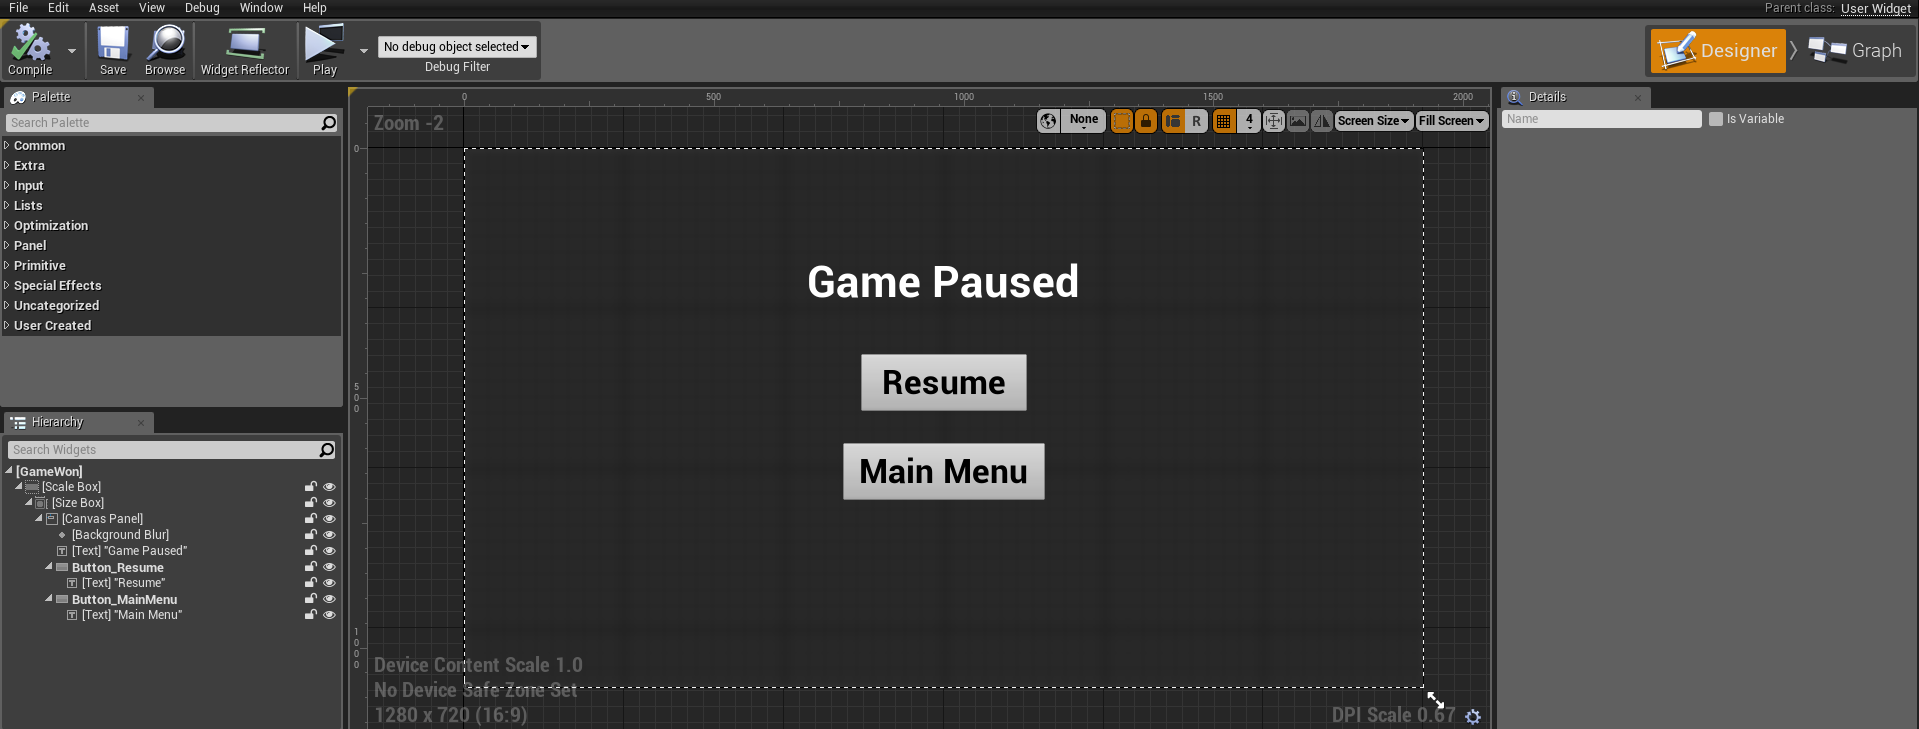
2. We can start by renaming the text fields in the menu. Select the text elements and rename them all in the Details panel on the right. Let’s remove the Resume button as well.
Note: Be creative! You can absolutely change the design to whatever you want. For the simplicity of this tutorial, I will keep a very basic design.
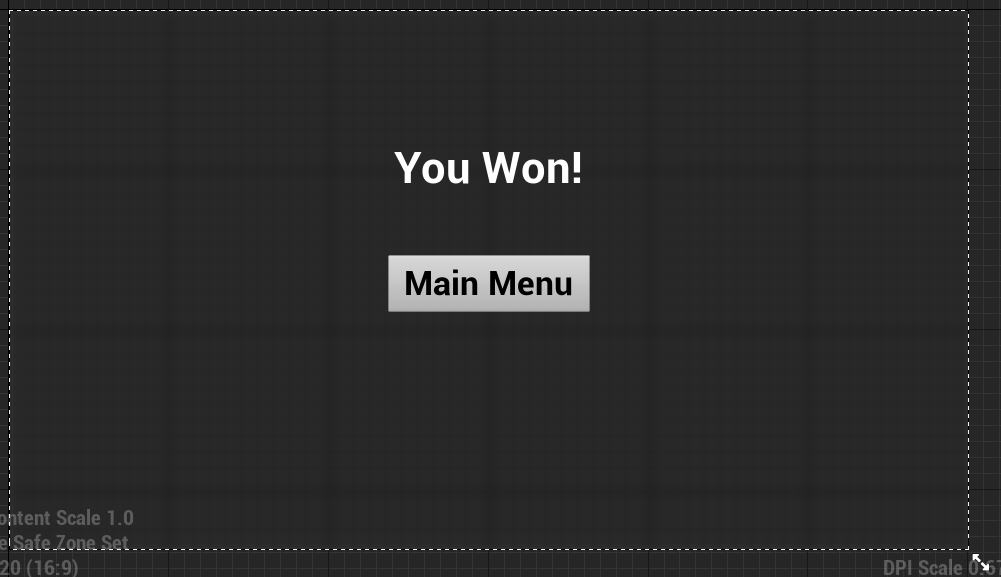
3. Now, switch to the event graph by clicking the Graph button in the top right.

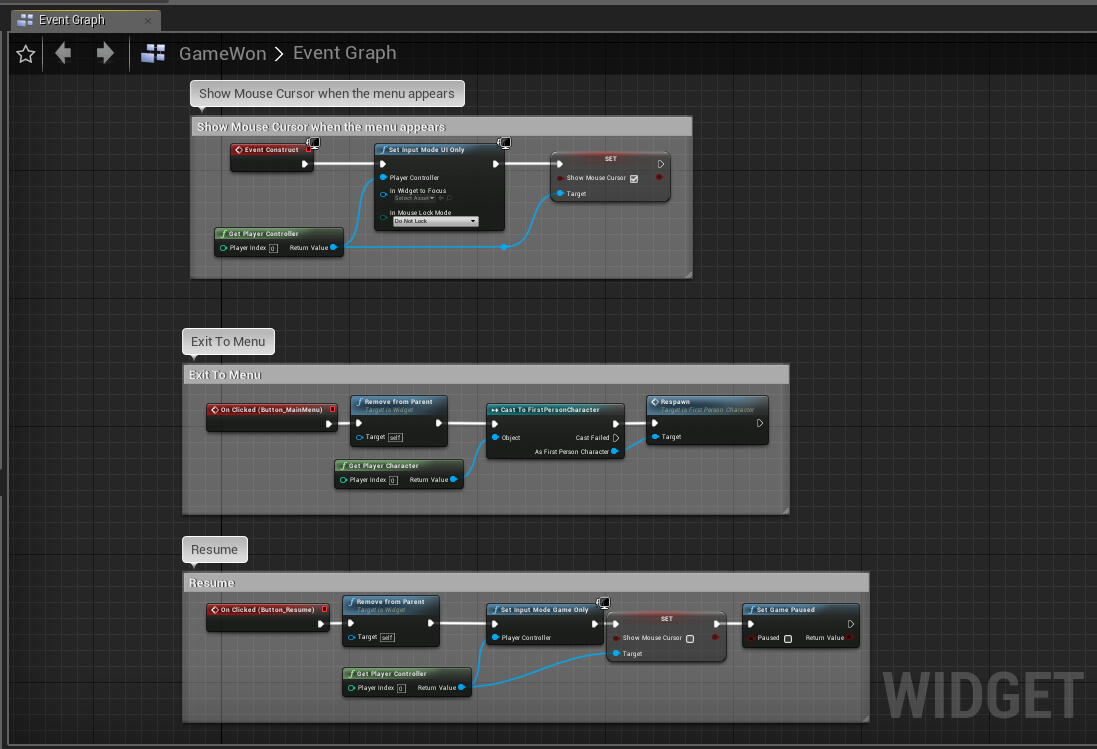
Since we started with the pause menu widget as our base, we already have all the code from there.
4. All we have to do is delete the Resume button code block. Click and drag to select all the nodes, then hit Backspace or del.


Leave everything else there. Compile and Save this Blueprint at the top left.

5. Duplicate this widget file and call it GameOver.
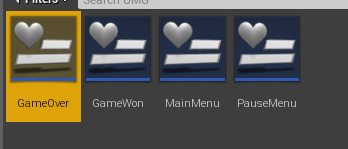
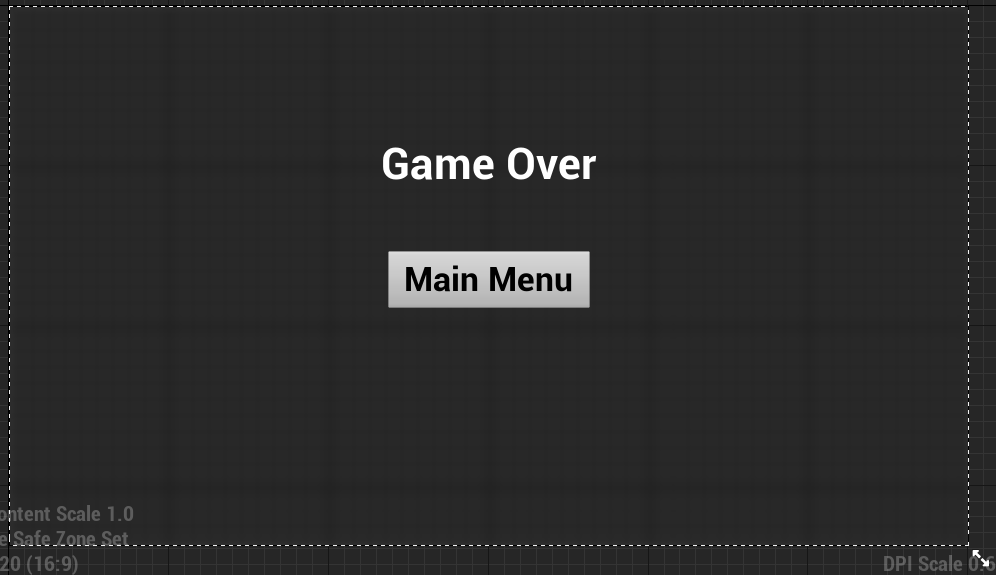
6. Open it, and change the Text to Game Over (or something similar).
Compile, Save, and close this Widget. Now, let’s make our triggers!
We’ll be creating our trigger in an Actor Blueprint, so we can drag as many as we want into the level.
4. Navigate to FirstPersonBP/Blueprints/ and make a new folder called Triggers.
5. While in the folder, click Add New -> Blueprint Class

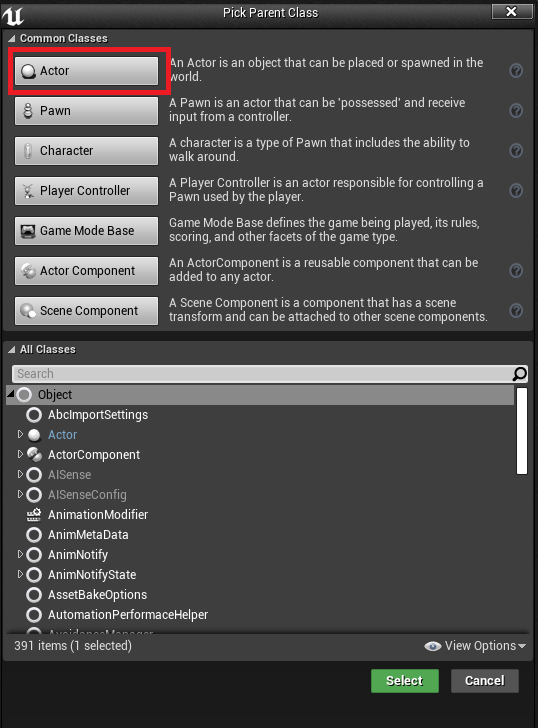
6. This window is where we can view and create every Blueprint available to us. There’s a convenient list of common blueprint types at the top. Let’s make an Actor Blueprint.
Note: An Actor blueprint is an object in the world that cannot be controlled by the player. This is fine since it’s a trigger, though.
Let’s call it WinTrigger.

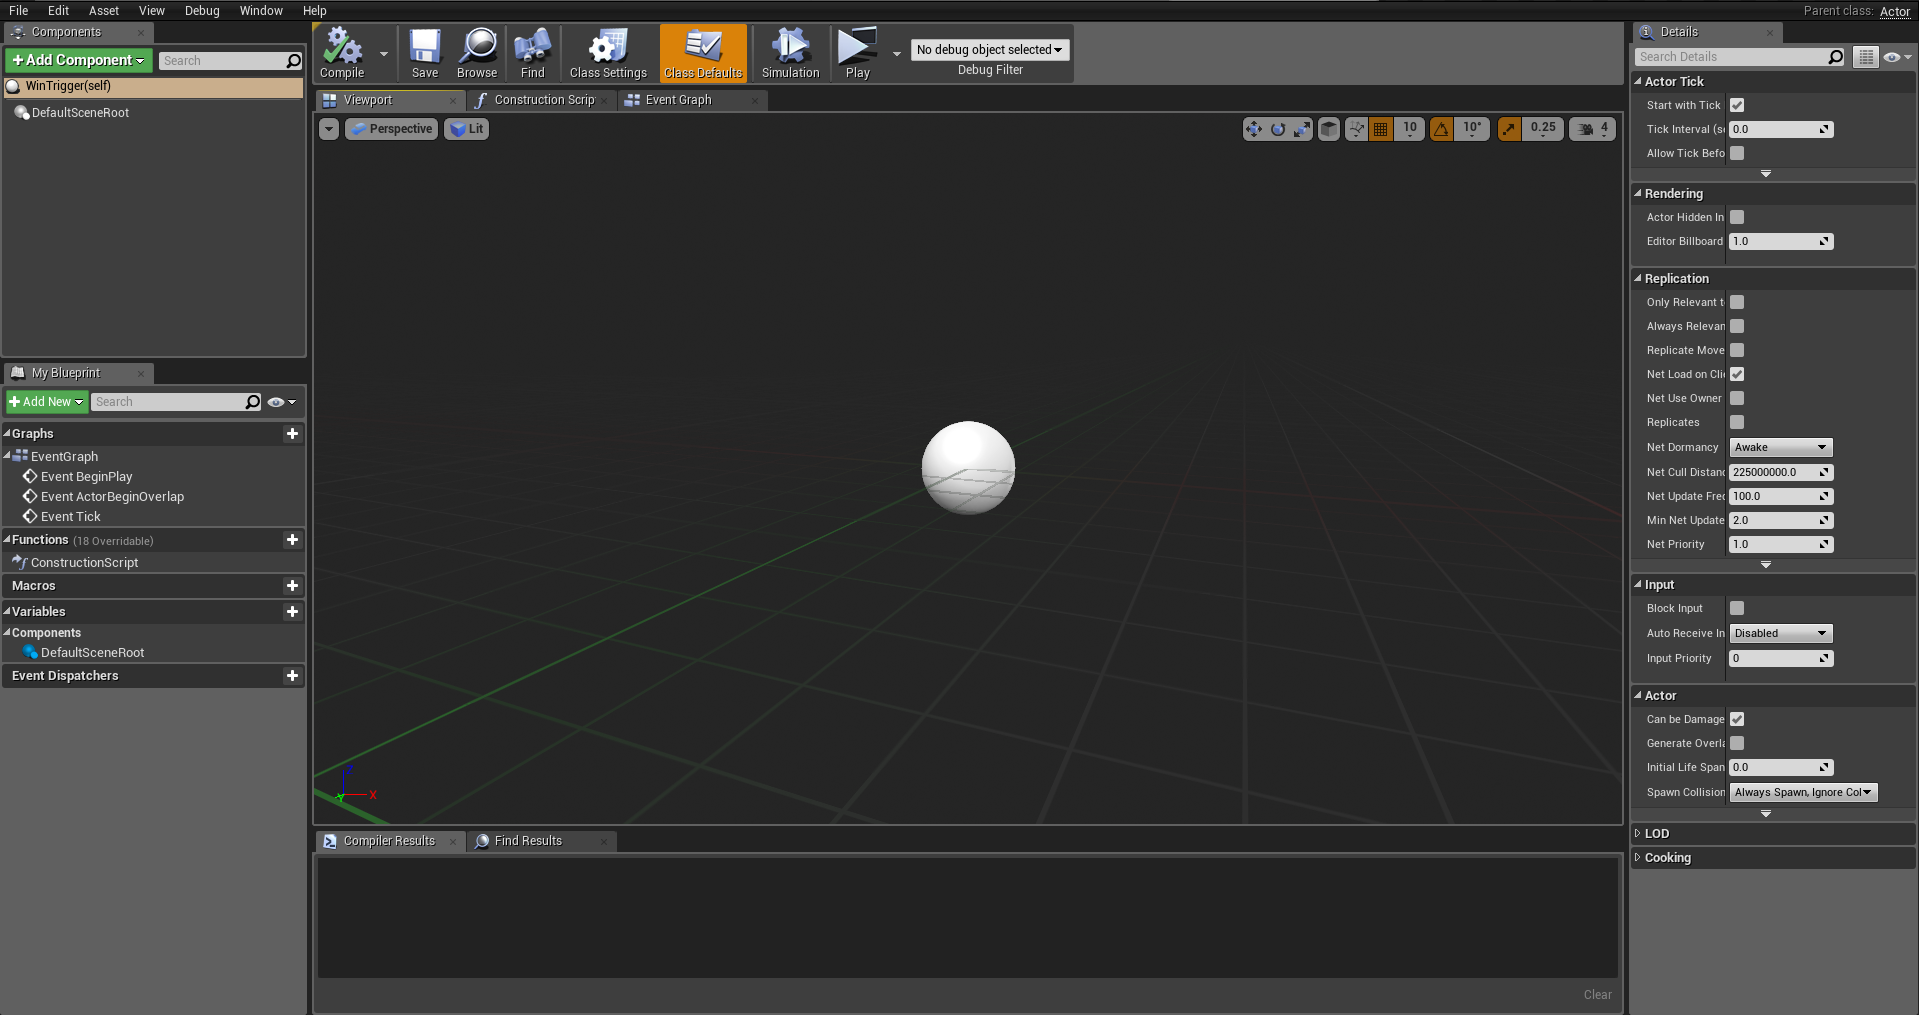
7. Open the WinTrigger Actor Blueprint. This will look familiar because it’s the same UI as the FirstPersonCharacter Blueprint we’ve seen before.
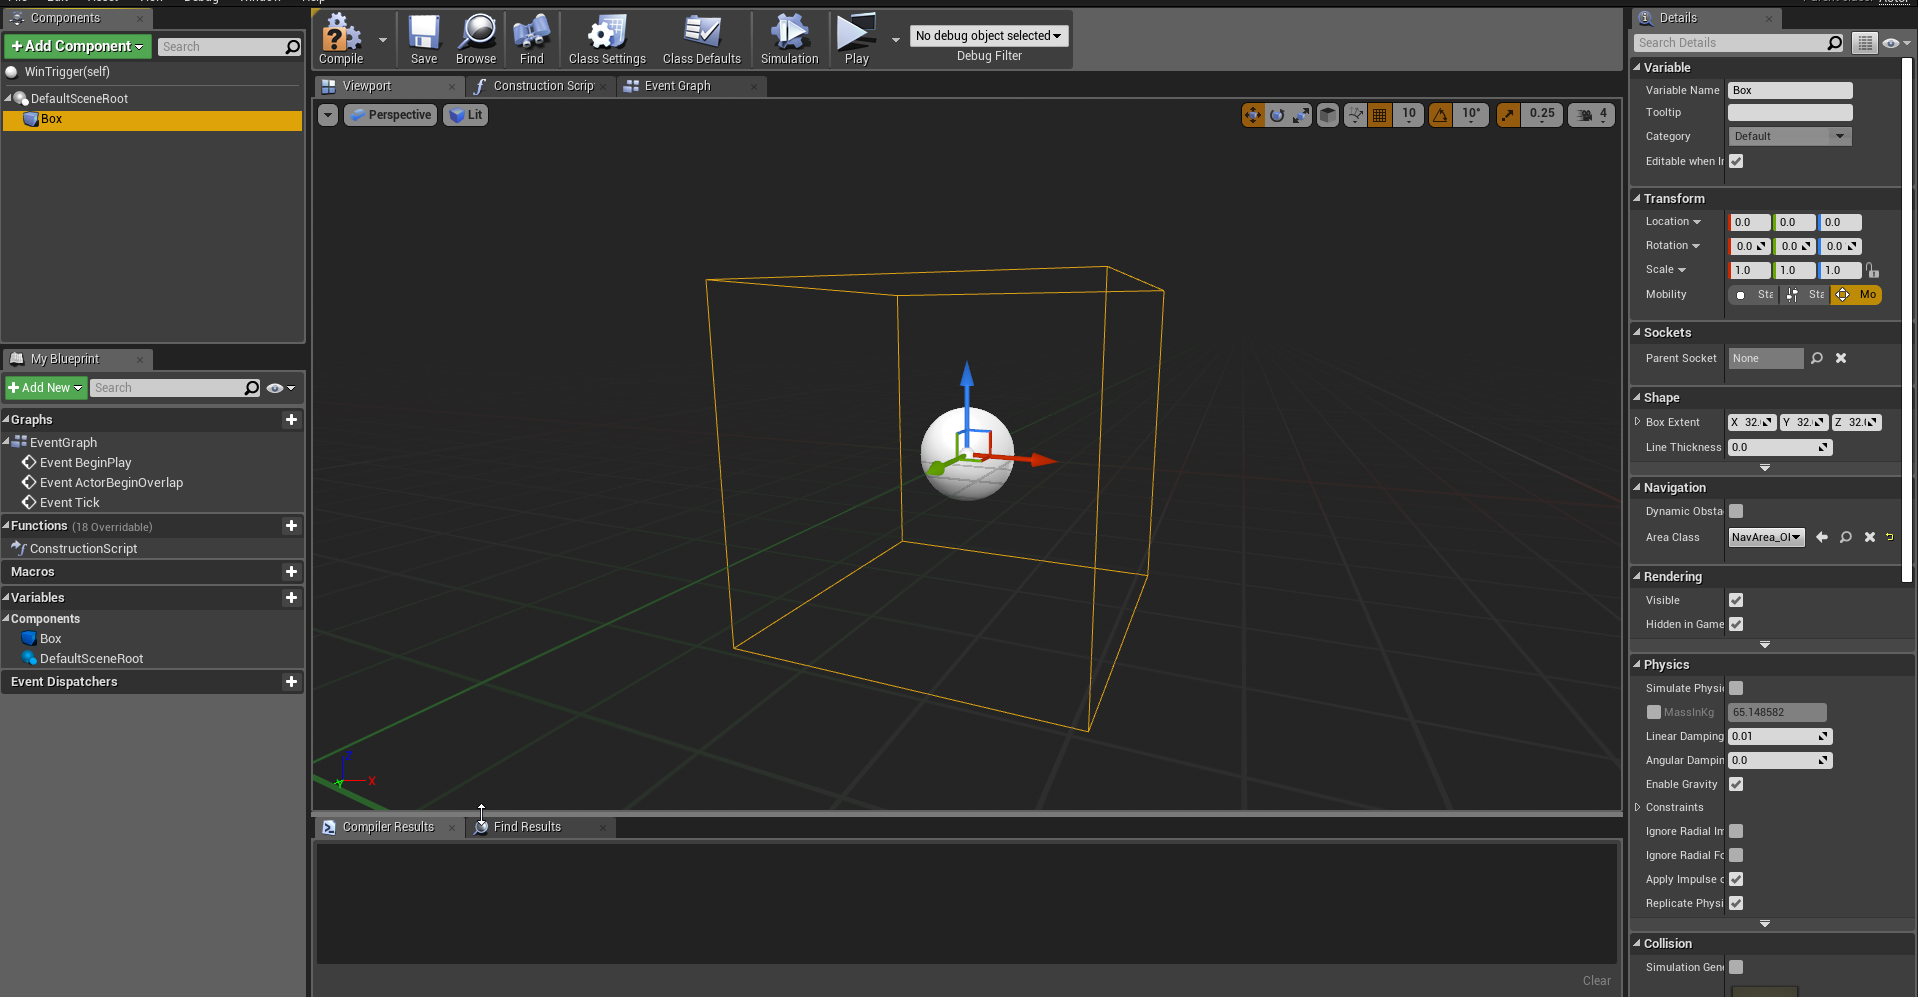
8. Let’s add a box collision component to the actor by clicking on Add Component on the Components panel on the top left.. This dropdown has all the things we can add to our actor, like static/skeletal meshes, lights, shapes, etc.

We’re adding a Box Collision component. Search for Box Collision and click the result to add it.

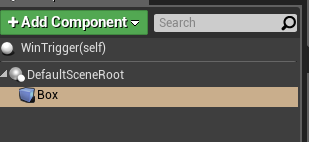
Since we have no other components other than the root, it’ll add the box as a child of the root.
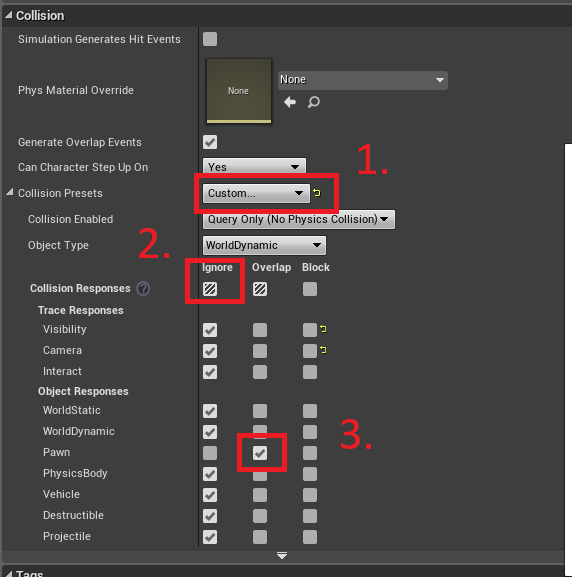
9. Select the Box Collision Component (called Box). On the Details panel, change the Collision Presets to Custom. Click Ignore. Under Pawn, click Overlap.
We’re going to leave the dimensions default, and in the level editor we can rescale each one independently.
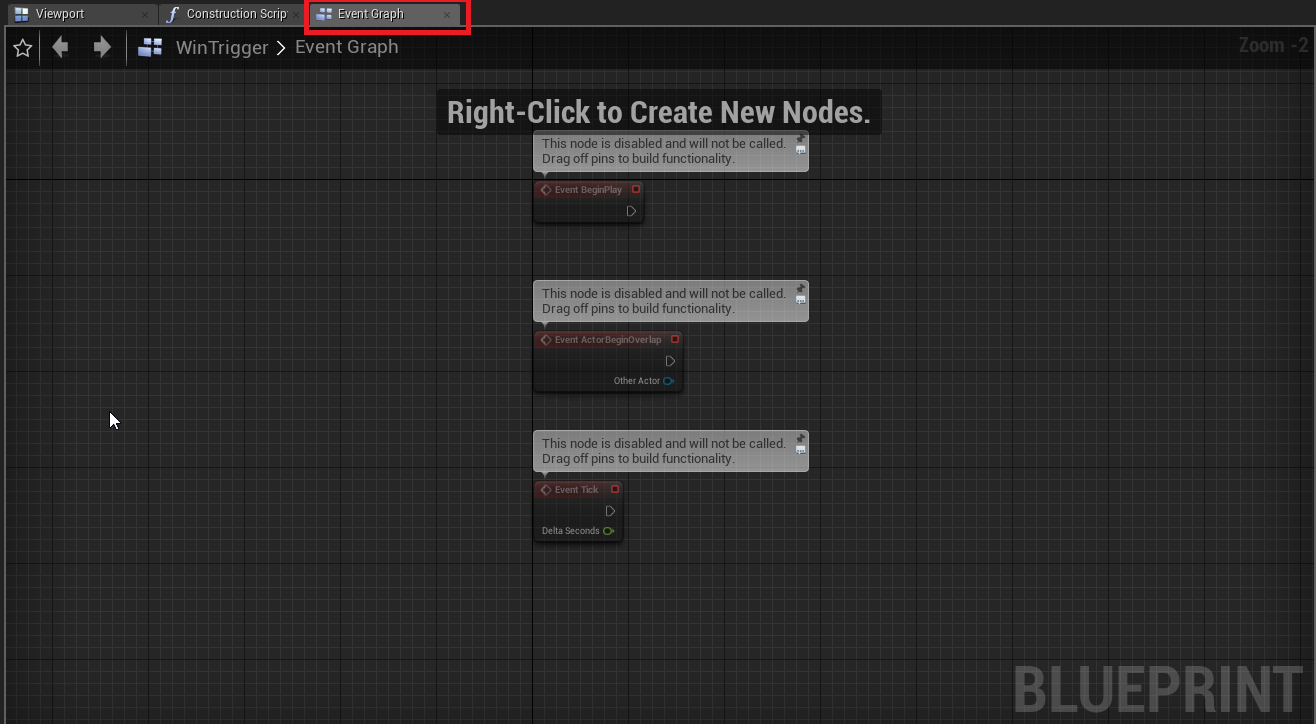
10. Switch to the Event Graph tab.
We can delete these other nodes that we’re not using, to start with a clean slate. They can be readded later if we need to use them.
11. Select the Box variable on the Variables panel on the left, and add a node for On Begin Overlap.
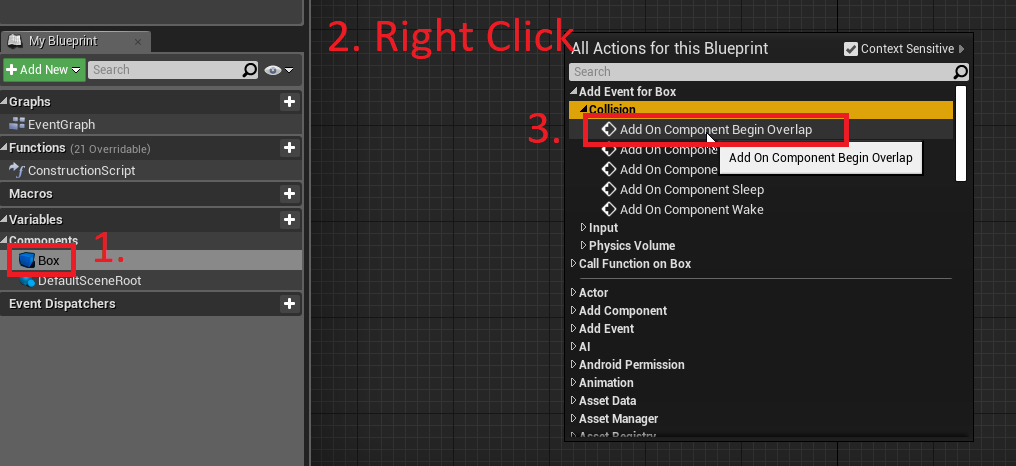
This node is activated whenever the player walks through it (modifiable), exactly what we need!
12. This is how our function should look:
Our actor is all done! Now we can simply drag the actor Blueprint from the content browser into the game world.
Tip: To change the size, select the actor and press R.
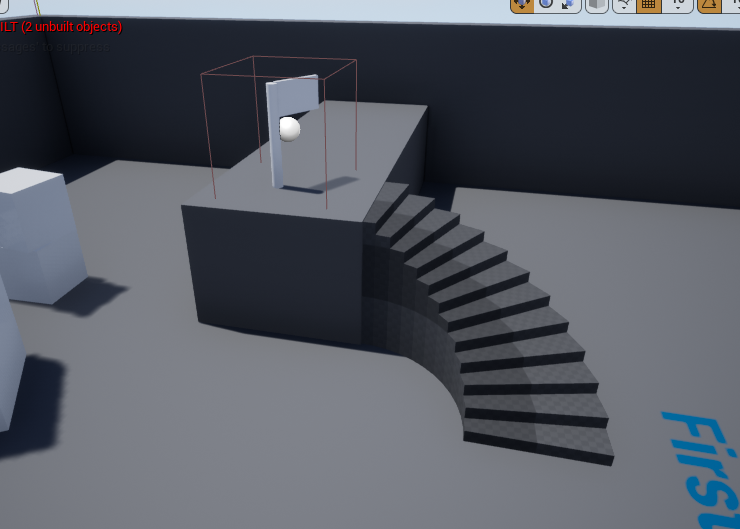
Here, I created a very basic staircase and flag for demonstration, and added & rescaled our WinTrigger box.
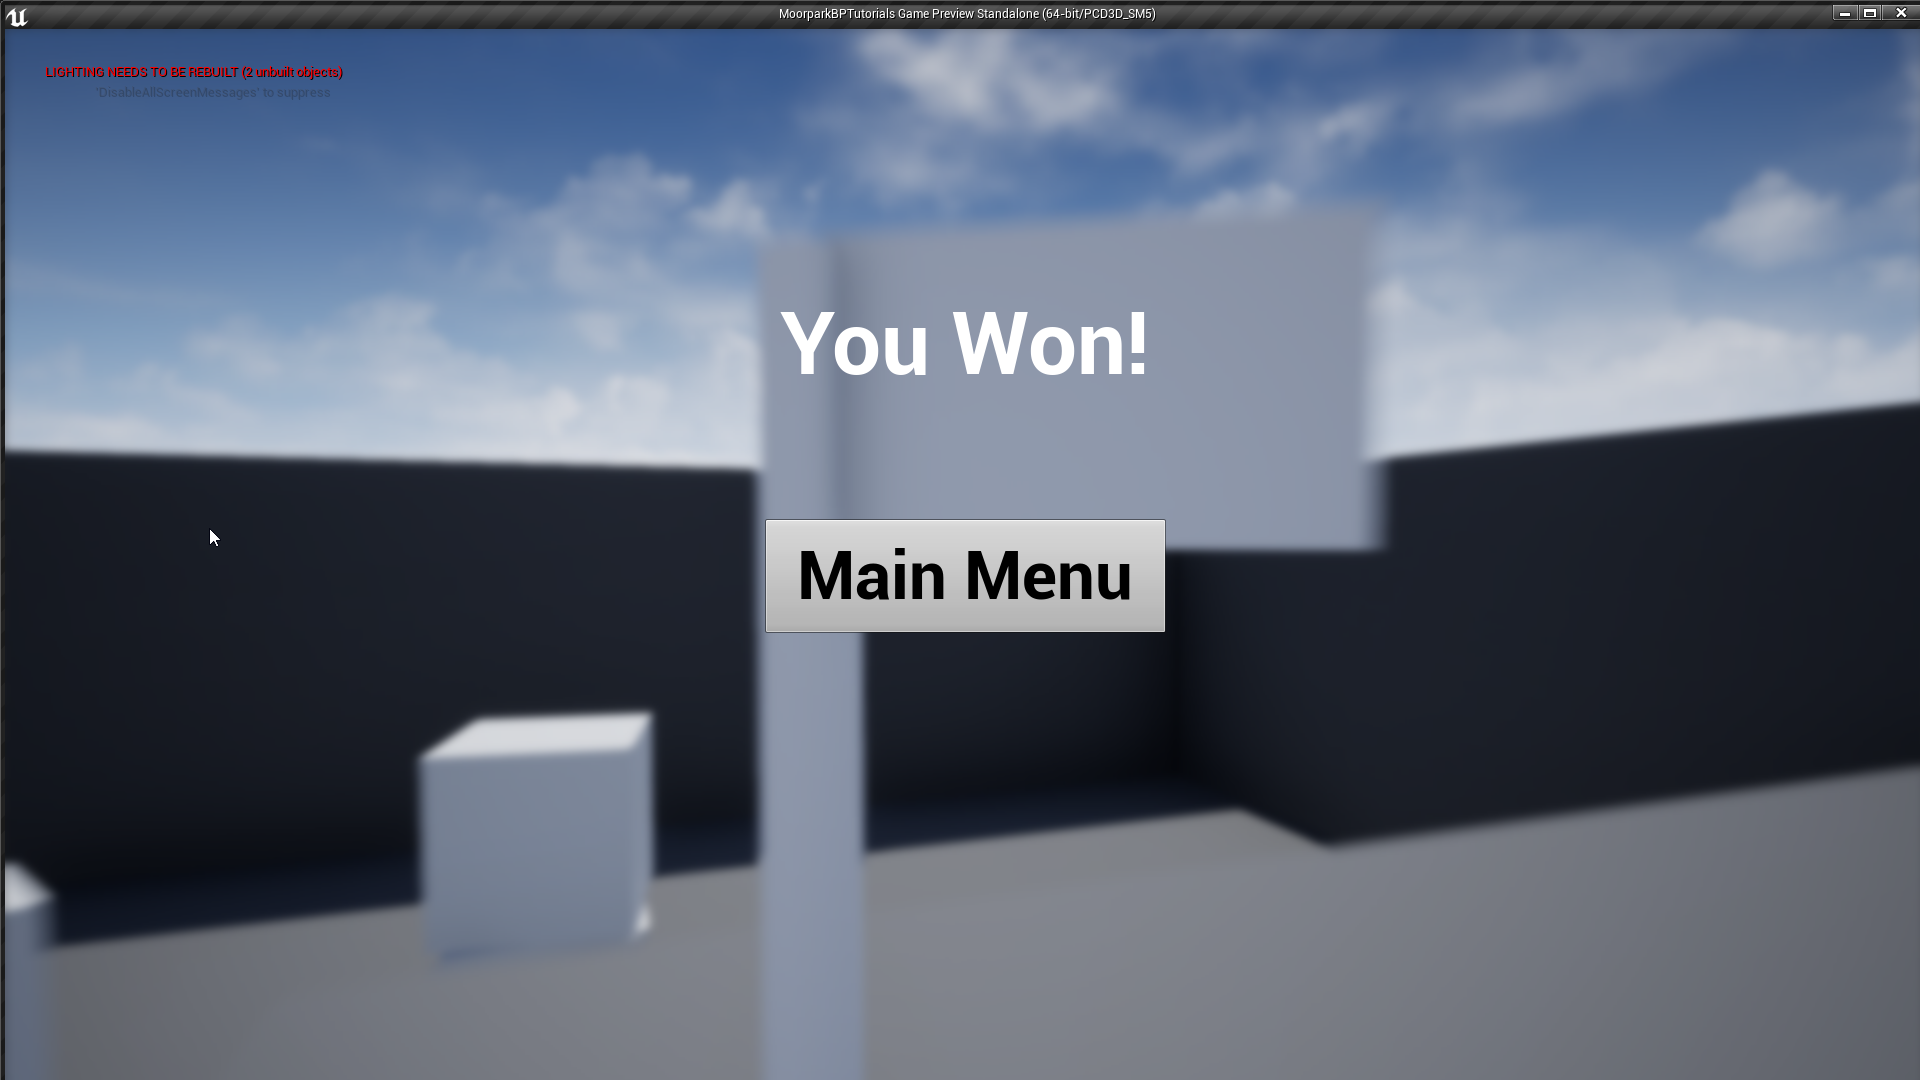
If we walk up to the flag, the GameWon widget opens!

Ok, now let’s make our GameLose trigger.
13. Duplicate the WinTrigger Actor Blueprint, and call it LoseTrigger.
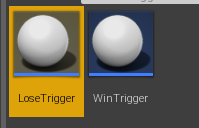
14. Open it, and change the Create Widget node’s widget variable to the GameOver widget we made earlier.
Compile, Save, and close this blueprint.
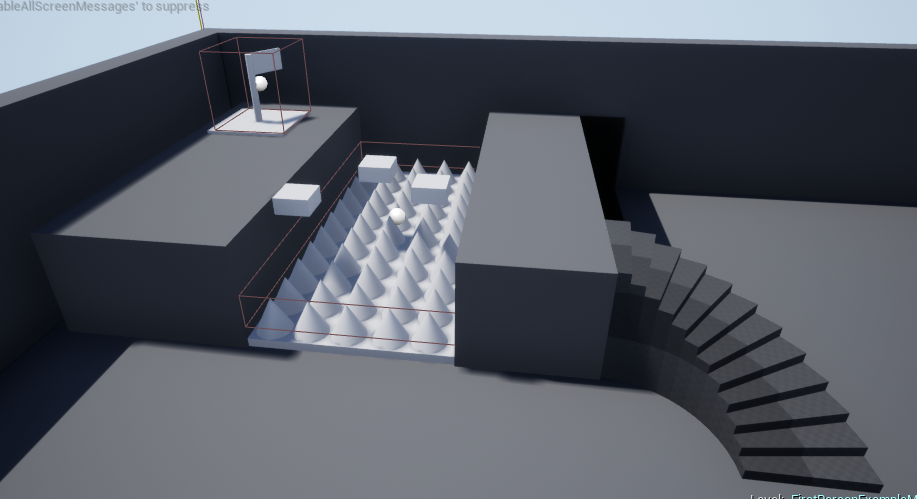
Now, you can implement the LoseTrigger we made in different places. I made some spikes and put the trigger over that, so the player loses if they fall on the spikes.

You can make a pit if you want, too.
You can use this anywhere and as many copies as you want in your level.
