Difficulty: Intermediate
This tutorial will cover implementing a reusable checkpoint system that can include as many as you want.
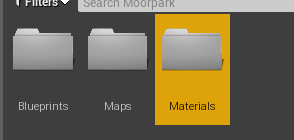
1. Before we start on the Blueprint part, let’s make a quick Material that we’ll use for the checkpoint flag. Create a folder called Materials somewhere in your Content Browser.
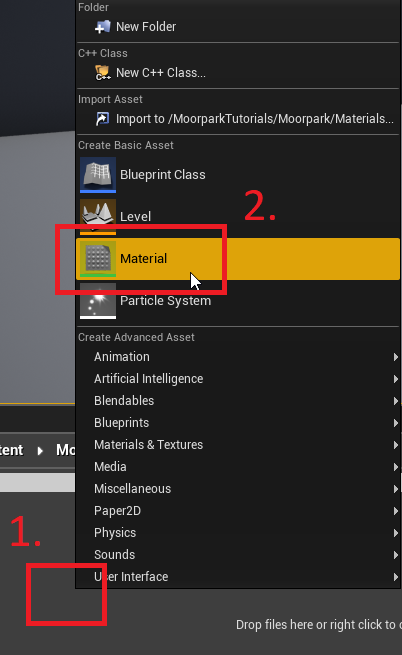
2. Right click in the browser and create a new Material. Call it Mat_Checkpoint.
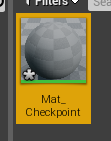
3. Open Mat_Checkpoint to bring up the Material UI. This is where all the material customization happens. We won’t be diving into it much, though.
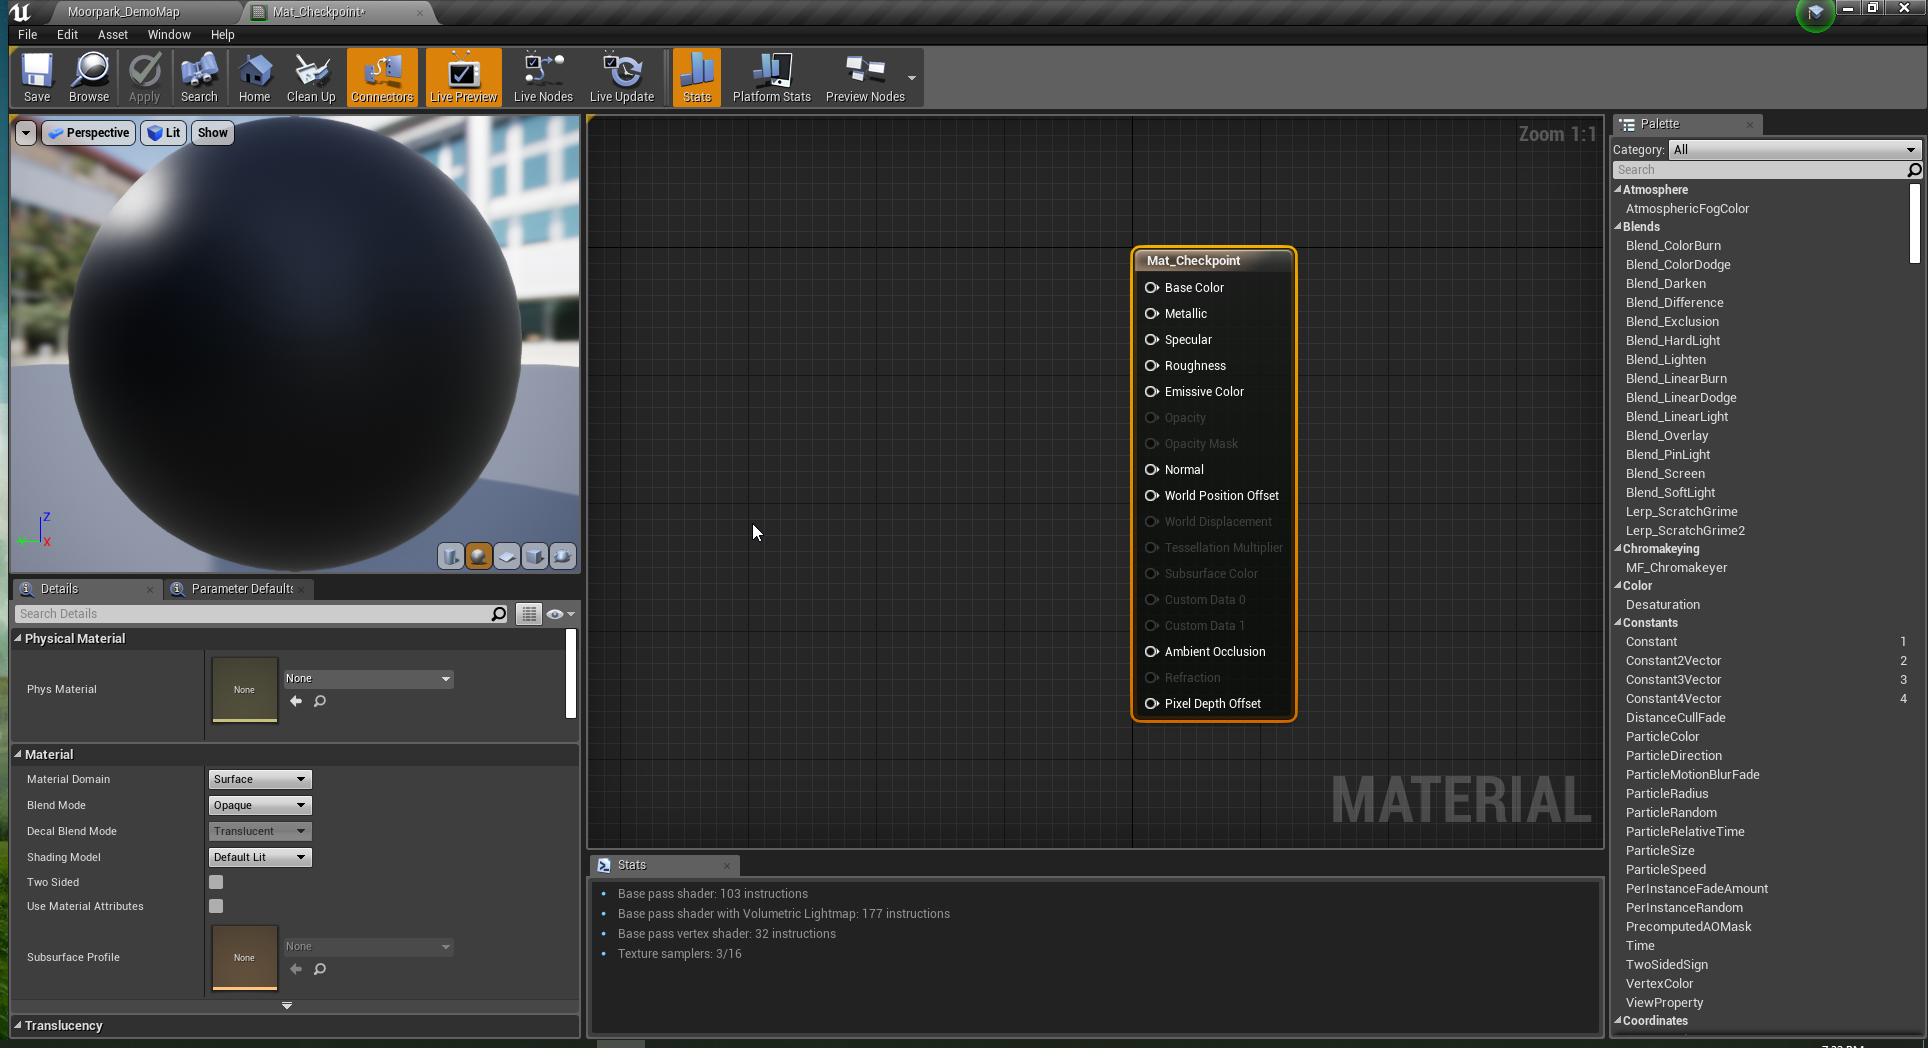
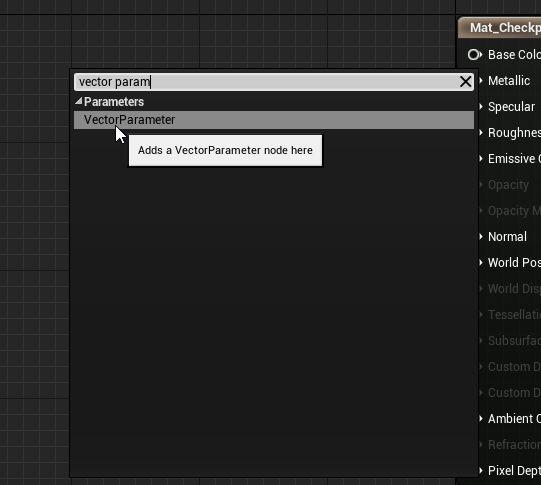
4. Like Blueprints, Materials use nodes. Make a Vector Parameter by Right Clicking and searching Vector Parameter. Connect that to the Base Color input on the material.
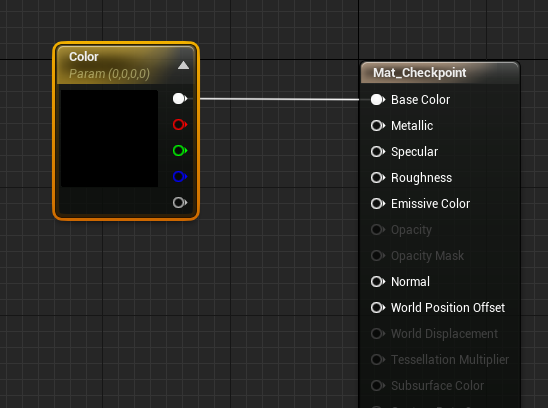
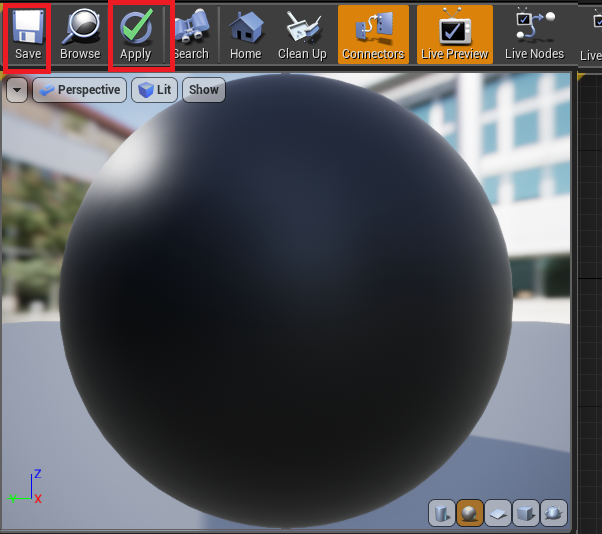
5. We will be changing the color through the Checkpoint Blueprint, so don’t worry about it being black. Apply and Save the Material, then close it.
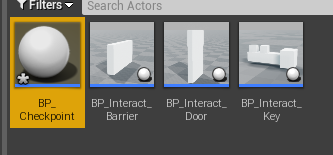
6. Make a new Actor called BP_Checkpoint in FirstPersonBP/Actors/.
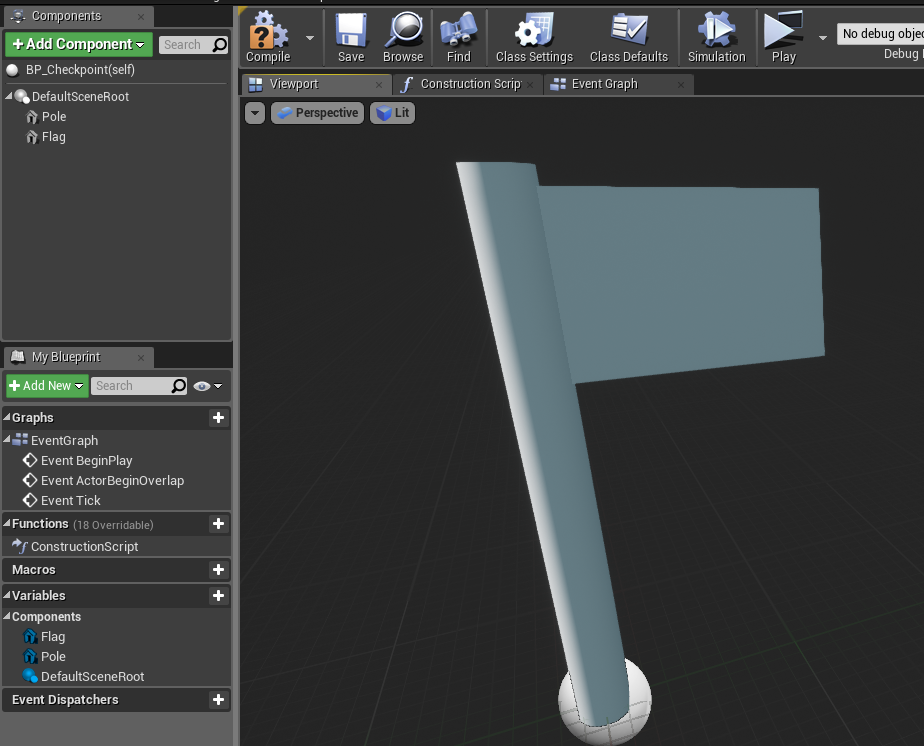
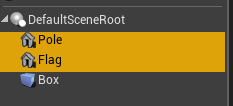
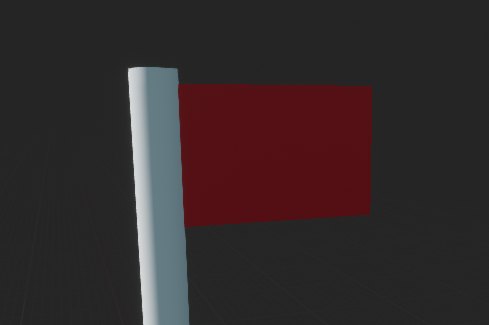
7. For this checkpoint, I will be using the flag I made previously for the finish flag pole, using two cubes. If you’d like to copy the flag below, create two cubes with the following data:
Pole Cube:
Location: 0, 0, 120
Scale: 0.25, 0.25, 2.5
Flag Cube:
Location: 0, -60, 200
Scale: 0.1, 1.25, 0.75
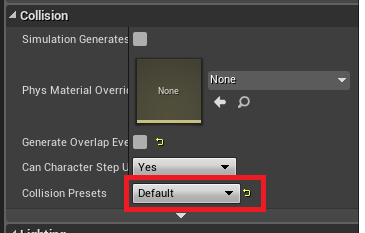
8. Select both the pole and the flag, and change their CollisionPresets to NoCollision on the Collision section of the Details panel.

9. Open the Construction Script tab between the Viewport tab and Event Graph tab.
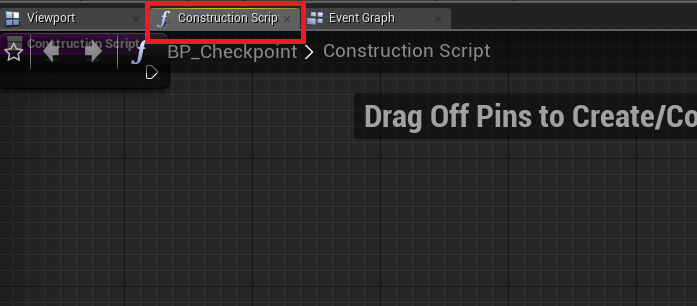
The Construction Script node runs whenever the state changes of the actor in the editor. Essentially, it sets up the actor before the game.
10. Connect a Create Dynamic Material Instance node to the Construction Script node, and connect it to the Flag component. Select the Mat_Checkpoint as the Source Material input.
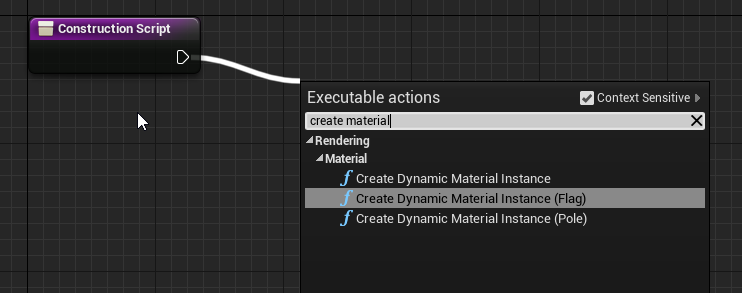
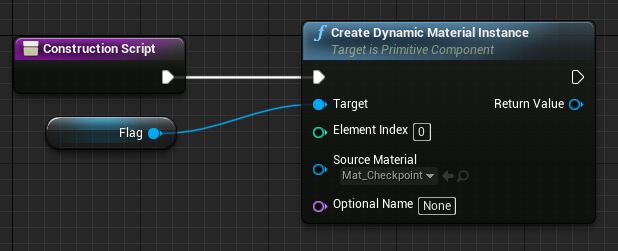
This node allows us to change any parameter in the material! In this case, we’re going to access the Color Vector Parameter we made earlier.
11. Right click the Return Value of the node, and select Promote to Variable. Call it Flag Material.
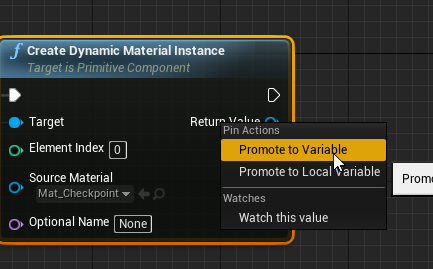
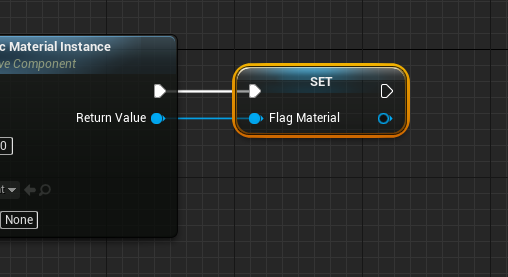
12. Create a new variable called Flag Colors with the type Linear Color and set it as an Array.
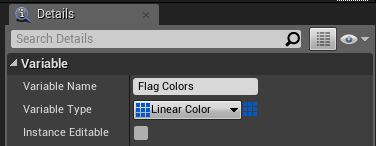
Compile and Save so we can change the default values.
13. Add two array elements, with a red and green. The first will be the deactivated and second will be activated states.

14. Connect a Set Vector Parameter Value to the Set Flag Material node output. This will get the most recent value. Change the Parameter Name to Color. Grab the Flag Colors variable, and use a GET node to get the first color in the array. Doing this will start the flag out as red.
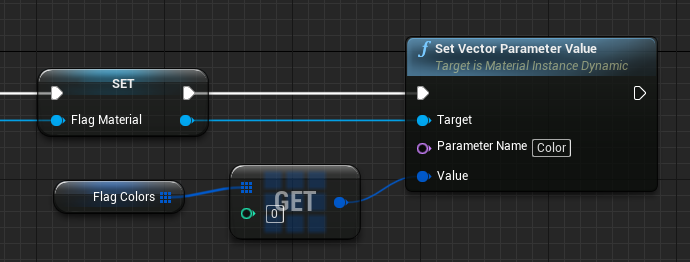
Compile and Save. The flag should be red now.
15. Now, let’s get to the scripting part. Create a new bool variable called Activate.

16. Create a Box Collision that encompasses the entire flag + more.
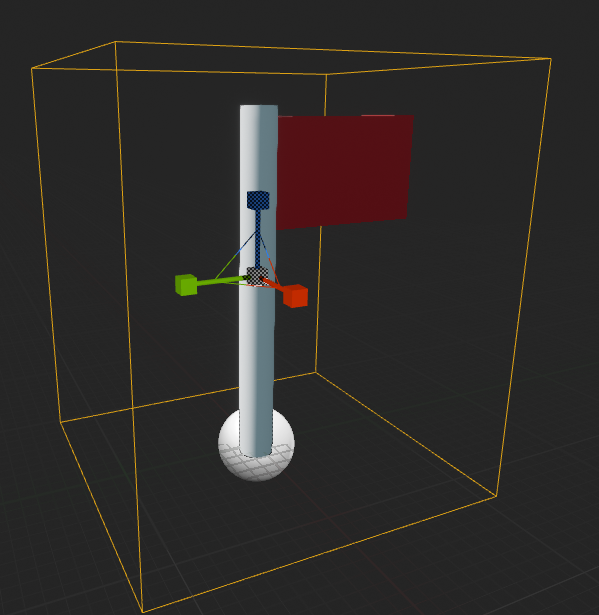
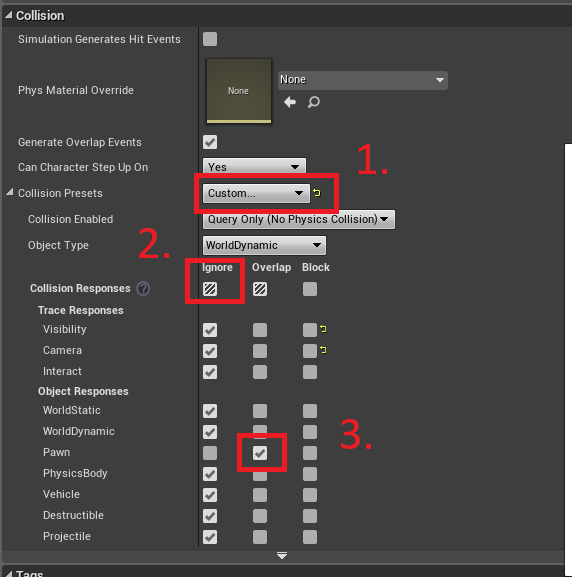
17. Select the Box Collision Component (called Box). On the Details panel, change the Collision Presets to Custom. Click Ignore. Under Pawn, click Overlap.
18. With the Box Collision selected, right click in the Event Graph and create an On Component Begin Overlap (Box)
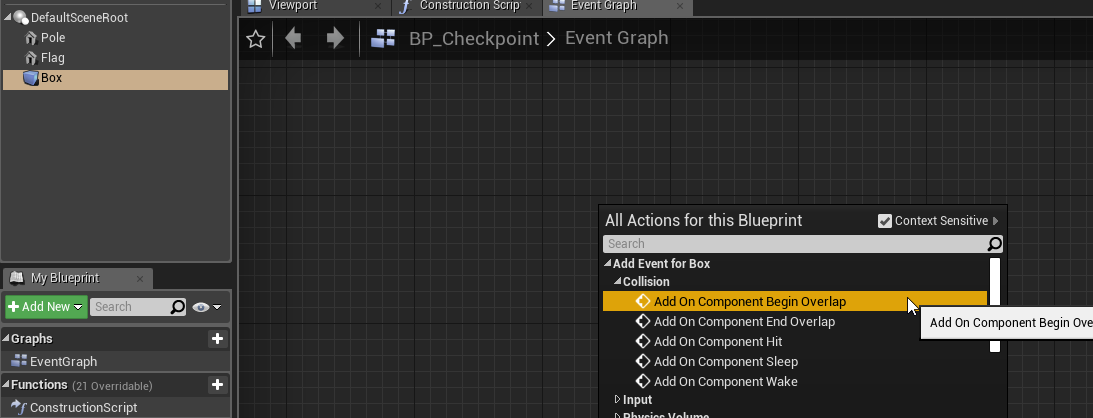
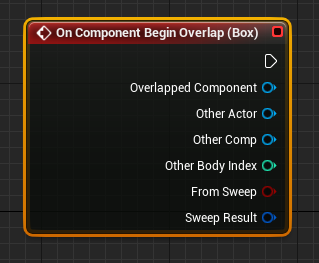
This will allow us to detect when the player enters the collision.
19. Now, we’re going to create the Respawn event.
Open the FirstPersonCharacter Blueprint in FirstPersonBP/Blueprints/

20. The first thing we need to do is add a Variable to the player. For our variable, we need to store the player’s checkpoint spawn location, so we can respawn them there when they hit the trigger.
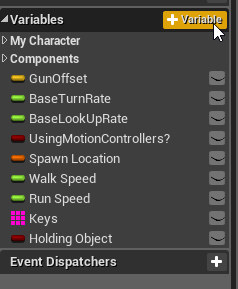
Call it Checkpoint Spawn Location

You’ll notice that the variable type is a boolean because of the red line to the left of the variable name. Let’s change that.
21. With the Spawn Location variable selected, we need to change it to a Transform from a Boolean. On the Details panel on the right, click on Boolean and select Transform.
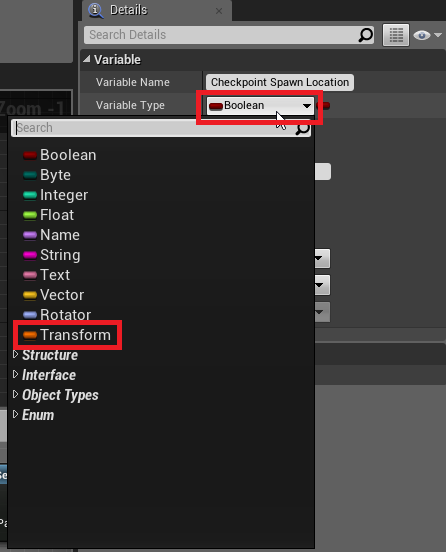

The neat thing about the Transform variable type is that it contains three other types of variables: Vector, Rotator, and Scale. This is great because when we’re moving to the checkpoint on death, this will set their rotation (Rotator), location (Vector), and scale (Scale is pretty circumstantial).
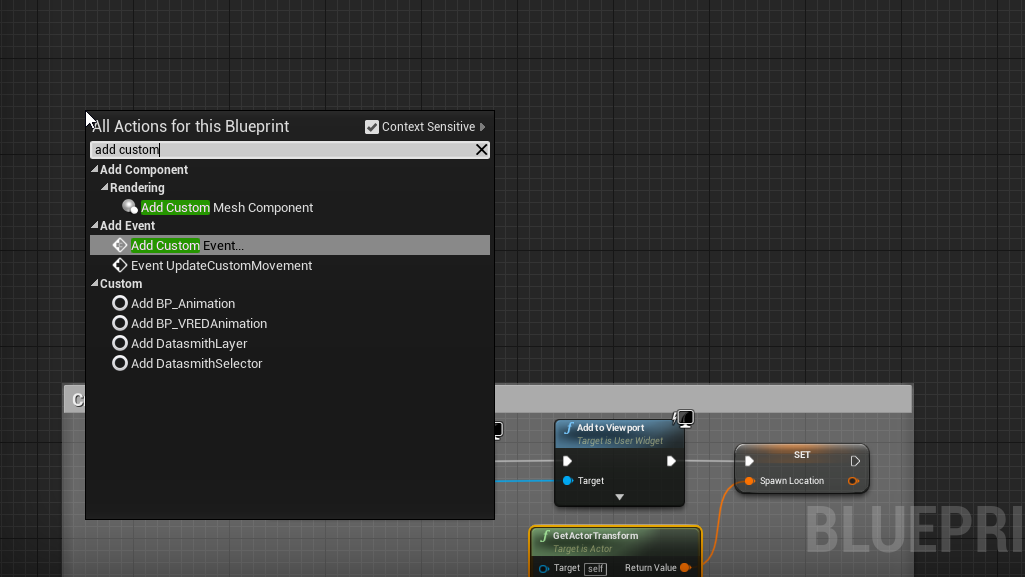
22. Let’s add a respawn function now. In an open space, right click and search for Add Custom Event. This is like a mini-function of sorts.
23. Call the event Move To Checkpoint.

24. Connect the event to a Set Actor Transform node, and connect the Checkpoint Spawn Location to the New Transform input.
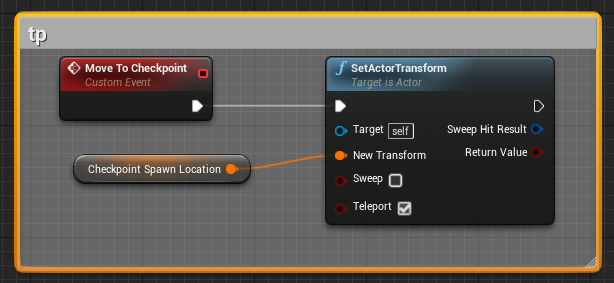
Compile and Save the Blueprint.
25 Go back to the BP_Checkpoint Blueprint, and view the On Component Begin Overlap node.
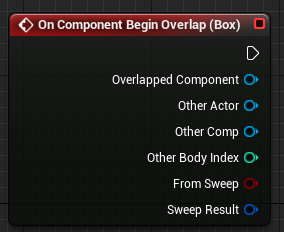
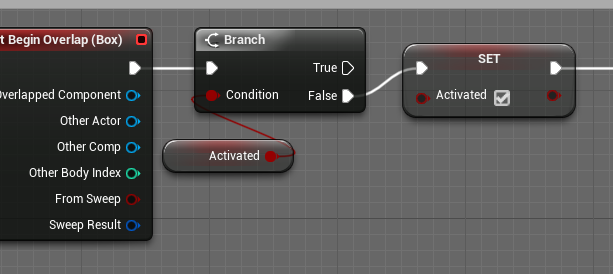
26. Add a Branch which checks our Activated variable, and continues from the false node. After, create a Set Activated node and set that to true (checked).
27. Connect a Cast To FirstPersonCharacter node, and grab the Player Character as the input.

28. Create a Set Checkpoint Spawn Location branching from the Cast output, and connect it to a GetActorTransform node coming from the cast as well.

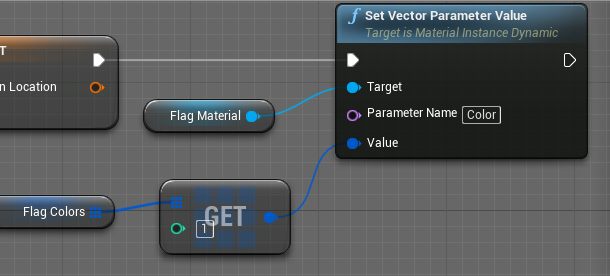
29. Drag in the Flag Material node and connect it to a Set Vector Parameter Value with the Parameter Name Color. For the value, drag in our Flag Colors node and get array item 1.
Compile and Save.
This is how the whole event will look:
30. Now, let’s make the ‘death box’. This will teleport the player back to the most recent checkpoint once they’ve reached it. Create a new Actor called BP_DeathBox

31. Open it, and add a new Box Collision.
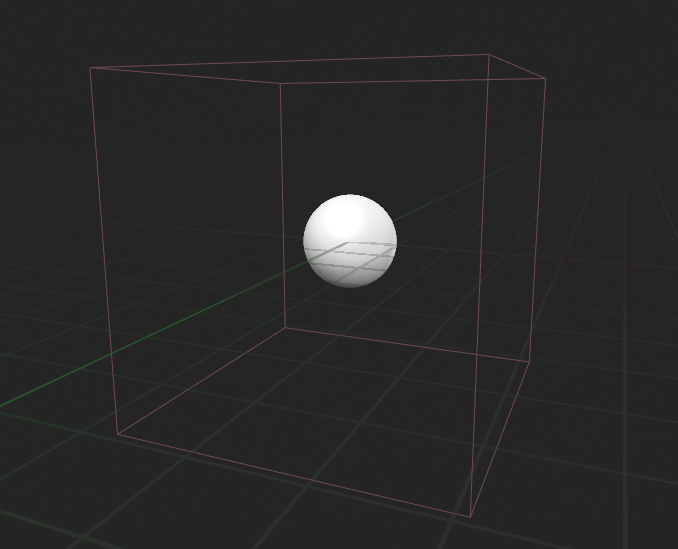
32. Select the Box Collision Component (called Box). On the Details panel, change the Collision Presets to Custom. Click Ignore. Under Pawn, click Overlap.
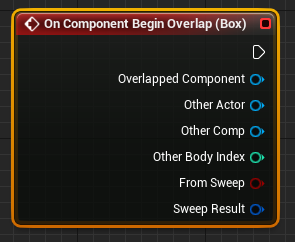
33. In the Event Graph, add an On Component Begin Overlap (Box) like we did before.
34. Cast to the FirstPersonCharacter like we did before, using Get Player Character as our input. From the cast, run the Move to Checkpoint event we made.
We’re done! Just drag the flags in the level, and when the player walks into it it’ll set their ‘spawn point’.
